

Workflows can be super powerful in controlling when customers are sent messaging. Check out this use case below where the customer wants to send a different message based on set office hours. This example could also be used to NOT send messages based on specific hours by leaving off an email on one branch.
In some cases, you’ll want to send a different message to people based on the time of the day. For example, you could need to send a dedicated confirmation to people that sign-up outside of your working hours (e.g. after 6 PM) to let them know you’ll get in touch the following day.
To do this, you can create a dedicated event-triggered campaign like the one below:

Let’s have a look at each step:
1- The first ‘Create or Update Person’ action will capture the hour when people sign up. You can set this so that Customer.io will create or edit the ‘office_hours’ attribute of that person using the Liquid formula {{ "now" | date: "%H" }}
As you can see below, a profile that completed the trigger event at 17.03 will have ‘17’ as ‘office_hours’ value:

This step could already be enough if you are familiar with how to set all the other conditions and filters so that a message will be sent only if the value is between 9 and 18.
If you prefer, you can include the other steps so that the attribute ‘office_hours’ is clearer to understand for you and your team.
2- You can add a True/False branch, based on the value of the ‘office_hours’ attribute:

3- If the condition is ‘True’, you can add another 'attribute update' action to update the value to 'yes'

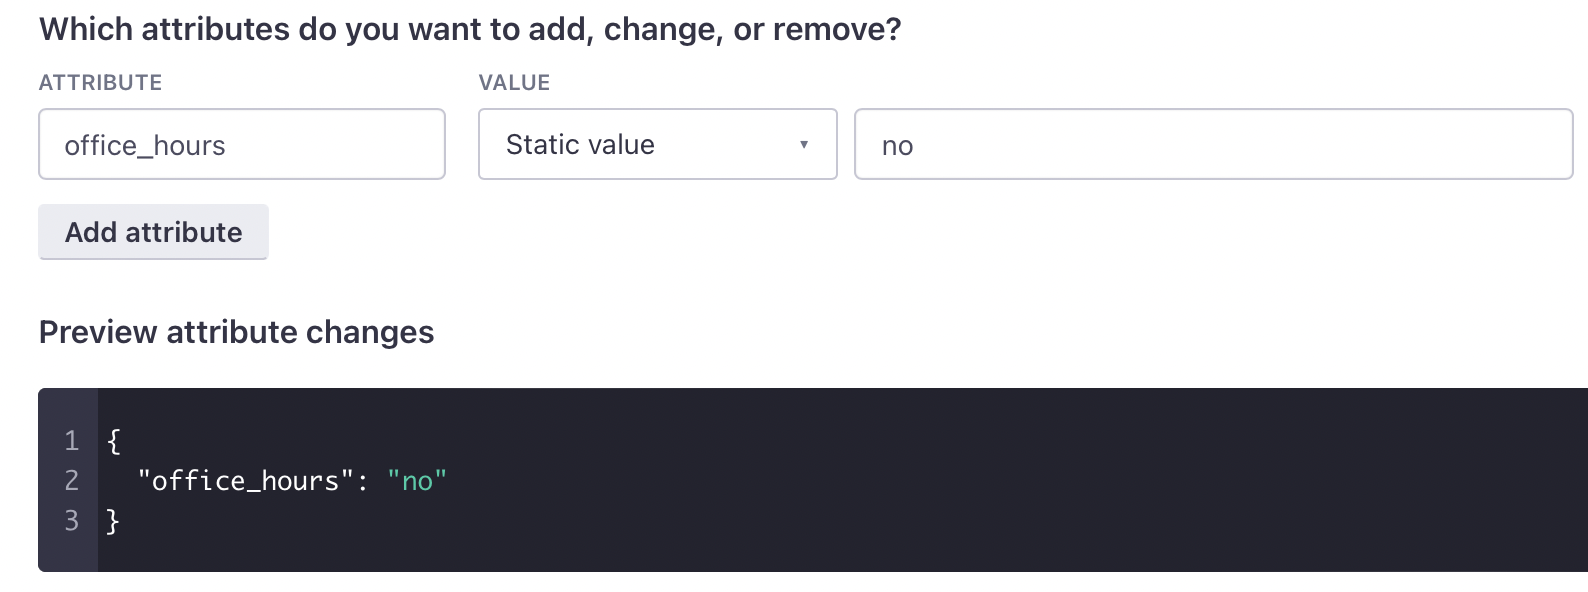
4- If the condition is ‘False’ - meaning that the person signed up after your working hours, you can then save 'no' as an attribute value:
5 - You can then leverage this yes/no attribute in your other workflow with the messages. You can create branches or add sending conditions so that specific messages go only to people that have completed the sign-up after working hours.
This is just an idea of how you could leverage the powerful ‘Create or Update Person’ action along with Liquid - let us know if you’ve created anything different for other specific use cases!